Every 3D creator and animator want their work to look amazing and stand out. Achieving a Photorealistic rendering can be tough, but it is possible with the right approach and attention to detail.
In this article, I’ll share my top 10 tips for creating realistic renders in Blender. And don’t forget to check out my guide on How To Make Money with Blender. Let’s get started and explore these helpful tips!
What is a Photorealistic rendering?

Photorealistic rendering is the process or style of rendering your 3D stuff with very high details in the motto to achieve the same level of detail and realism in the scene.
I know many of you have heard it before and know how to do it, but if you are new to any 3D software like Blender, Maya, or anything, then by these tips, you can get your first photorealistic render in Blender.
Top 10 tips for photorealistic renders in Blender
Creating realistic renders in Blender can be both challenging and satisfying. By following these ten simple tips, you can improve the realism of your renders and make your scenes come alive.
1. Leave some negative space
As a beginner, I always want to fill my background with unnecessary stuff, which is not so important in that scene. So, if you have some negative space in the environment, then leave them as is. You mainly need to focus on the lighting of the main parts of the scene.
For example, if you are doing product modeling, then try to mainly light up the product, not the entire environment. Try using the spotlight so that the product stands out in the entire scene.
2. Lighting
Lighting is the most important aspect in the sense to achieve photorealistic rendering. Good lighting always helps to enhance your workflow and scene better. To achieve good lighting in a scene, try to place your light source in a realistic way, using real-world lighting reference.
For example, if you are creating an indoor scene, use area lights to simulate the soft lighting that would come from a window. For outdoor scenes, use sun lamps and skylights to create natural lighting.
3. Use image texture
Using image texture for your scene really makes you one step closer to the photorealistic render. Because the image texture is just the image of real-world things with all the natural dust, scratches, and texture.
Always use high-quality textures for your material and make sure they are appropriately sized for the object they are applied to.
4. Depth Of Field

Adding depth of field in the render really makes your scene stand out and pushes you towards more photorealism. But don’t add too much depth; be careful while adding depth of field.
To achieve a balanced depth of field, try to mimic how the camera sees that type of object, which you are rendering either its car, bike, human, building, or anything. First, analyze it, and then try to mimic it in your scene.
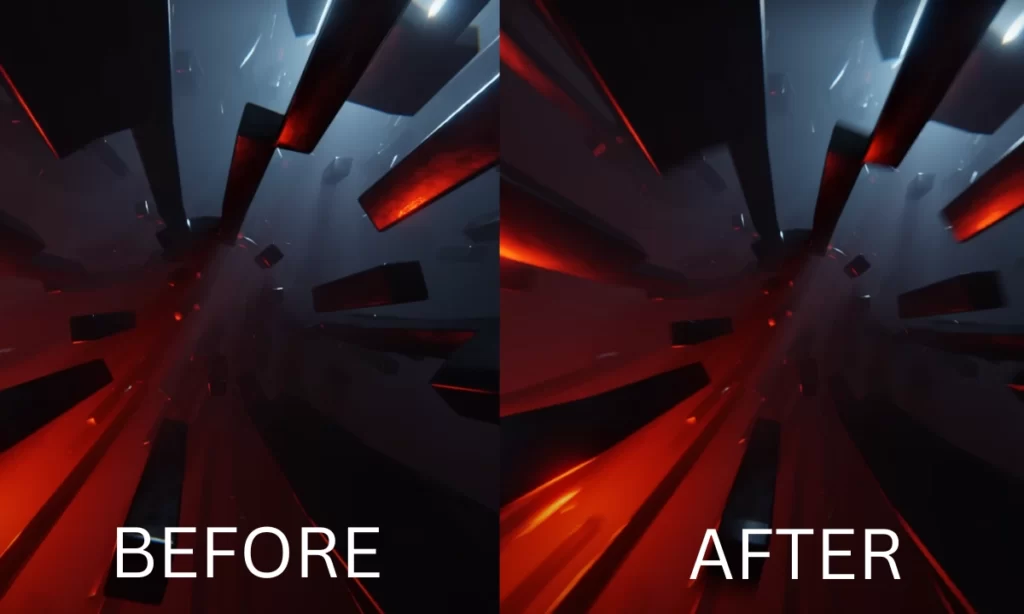
5. Leave some noise
Leave some noise in the render; it helps you to achieve some sense of photorealism. If you have used a camera before, then you have noticed that the picture has some noise, and noise makes the photo more believable.
If you denoise everything, then your scene may look more CG-type. So, try to leave some noise while rendering.
6. Add motion blur
If you have never used motion blur on any scene, then just try it once, and you will feel a slight change in your scene. You just have to go to render settings, scroll down, and just enable the motion blur into the scene.
7. Add volumetrics

Adding volume to a scene can make a big difference. For example, if you are creating a sci-fi scene, volumetrics can really enhance the photorealistic render. Volumetrics can hide the ultra-sharpness of the 3D render and make it look more realistic and believable.
8. Post-processing
Don’t rely on only one software. Use post-processing software, such as Photoshop, to enhance your image. Add lens flares, blooms, and other effects to create a more polished look.
Use compositing nodes to adjust the brightness, contrast, and color of your image. This helps you to make your scene more real and believable.
9. Don’t add too much glow
I have seen that many beginners add too much glow to their light, which makes their scene look pretty unreal. As you have seen in real life, only specific types of lights have really high glow, like flashlights or car headlights, rather than every light having a strong and soft glow. If you really want to add a glow, then do it with a purpose and find its contextual relevance.
10. Test your scene
Always test your scene by rendering small sections to ensure that everything looks right before rendering the entire scene. This will help you catch any mistakes or issues early on.
Also, consider using Blender’s built-in viewport denoising feature to quickly see how your scene is looking before doing a full render.
Conclusion
Overall, creating a photorealistic render in Blender takes time and attention to detail. But by following these tips and experimenting with different techniques, you can create stunning, realistic images that will impress your audience.